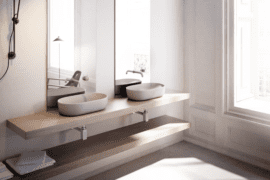
Wall-hung toilets have become increasingly popular due to their sleek appearance and easy cleaning. In addition to providing a modern look to any bathroom, installing a wall-hung toilet can also be relatively simple if the proper steps are followed. In this video and article, we will provide you with a step-by-step guide on how to correctly install a wall-hung toilet.
Before you begin, it’s important to consider some specific factors to ensure a successful installation. Make sure to take into account the distance between the studs, as it may vary depending on the model of the wall-hung toilet. The most common measurement is 180 mm, but in some cases, it can be 230 mm. Verify this information in the manufacturer’s instructions or the documentation of the toilet you are installing.

Installation of the wall-hung toilet:
Once you have reviewed and confirmed the distance between the studs, you can follow these steps to install your wall-hung toilet:
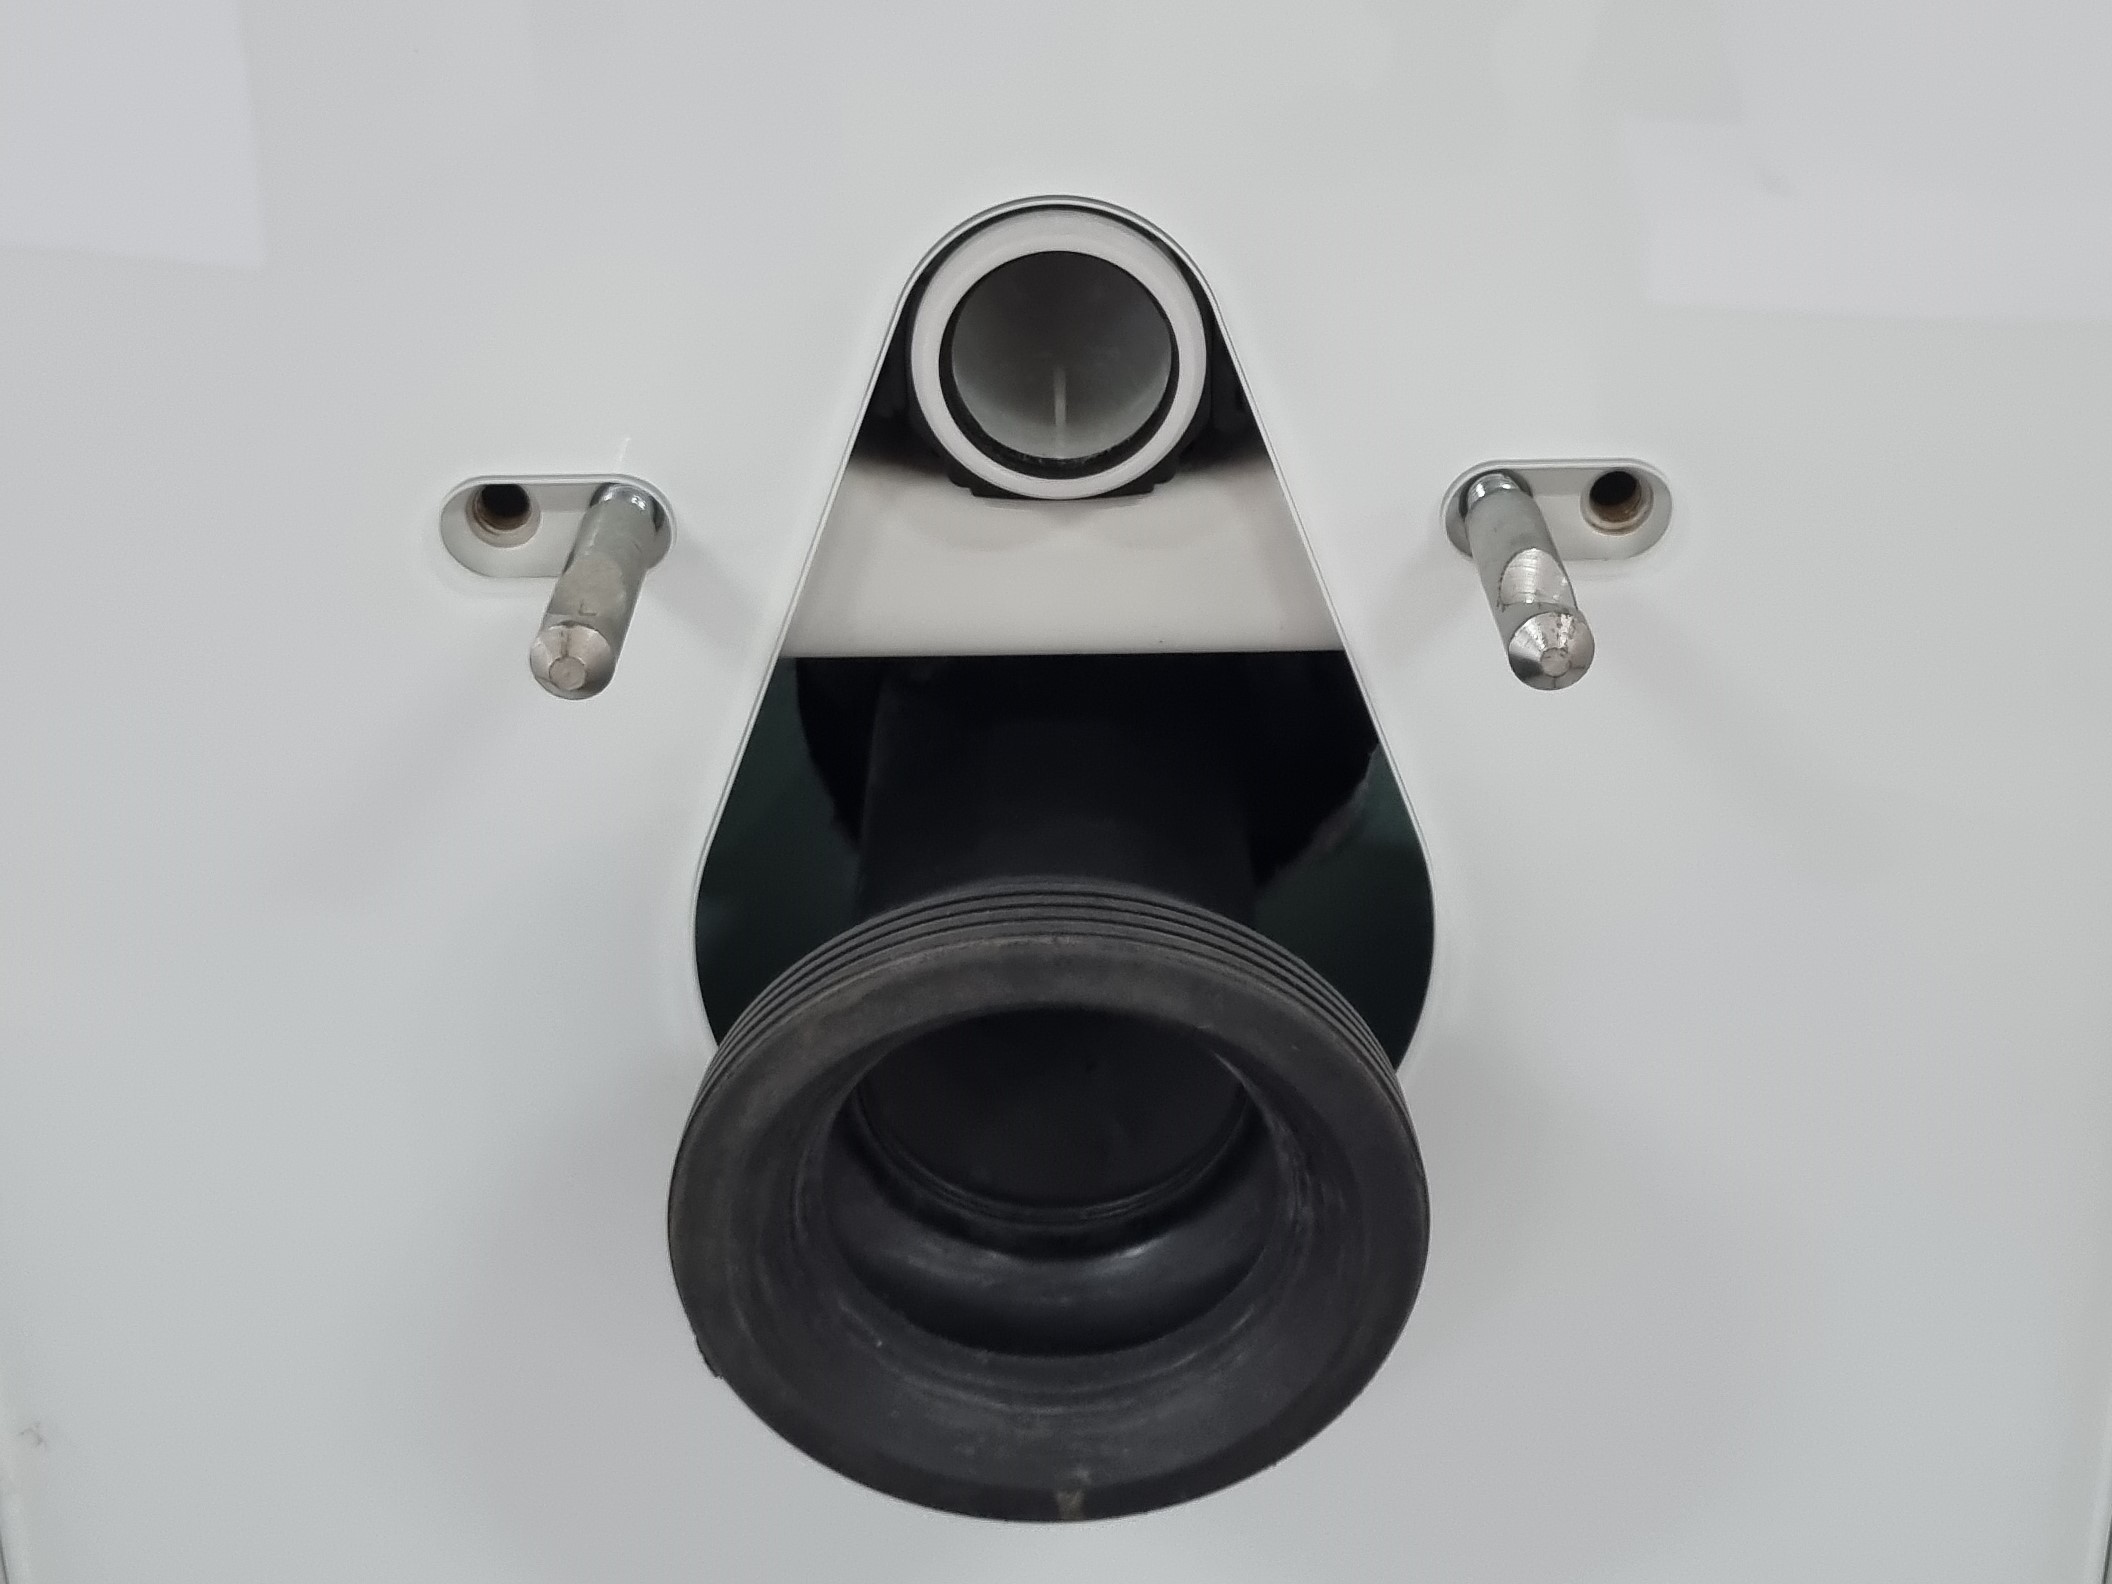
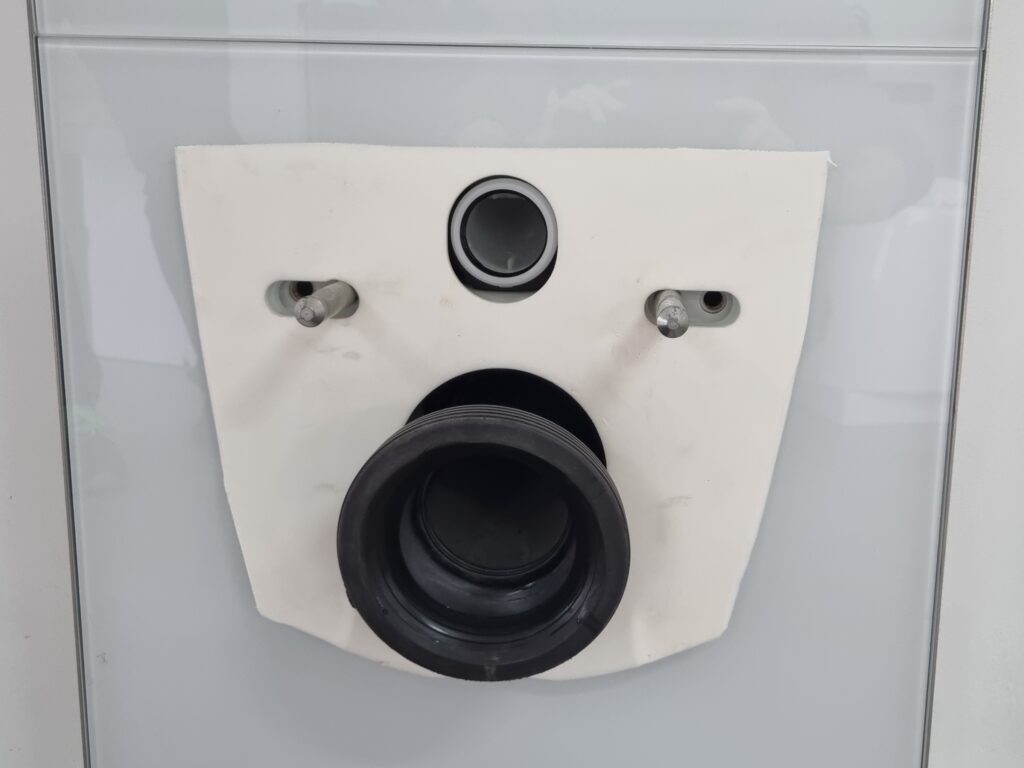
1. Screw the pieces onto the cistern studs: Start by screwing the pieces onto the cistern studs. Make sure the recess of the piece points towards the corresponding side to allow easy access later on.
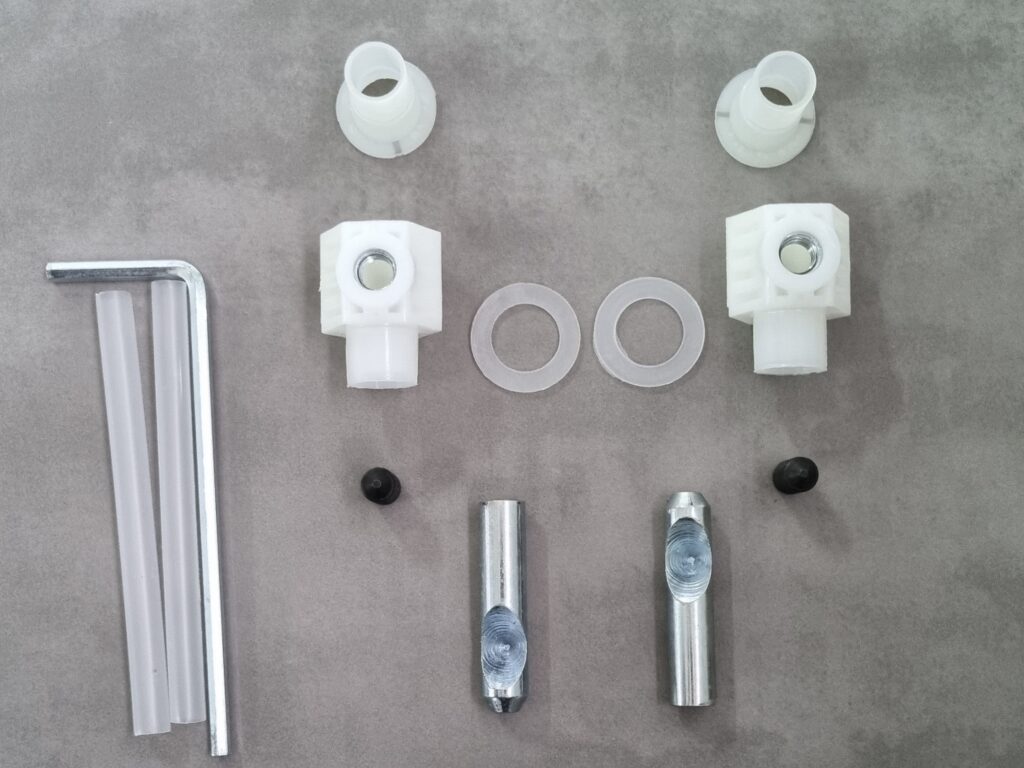
2. Loosely screw in the bolt: Loosely screw in the bolt that will later fit into the recesses of the cylindrical pieces previously installed on the cistern. This will facilitate the final adjustment once you are ready to secure the toilet in place.
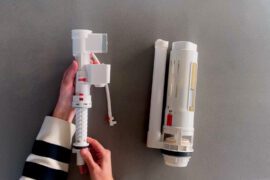
3. Install the water inlet elbow: Connect the water inlet elbow according to the manufacturer’s instructions. Make sure it is properly secured and sealed.
4. Screw in the toilet fixings: Screw in the toilet fixings onto the studs, ensuring that the screw head points towards the access holes. In the case of the Antequera model from Bathco, where the installation is done from the same holes used to secure the seat, the recesses should point upwards.
5. Add a protective foam: Place a foam pad designed to protect the cistern structure. This will help reduce noise and prevent possible damage during use.
6. Fit the toilet: Position the wall-hung toilet, making sure to properly connect the inlet and the evacuation elbow. Ensure that it is level and aligned correctly with the connections.
7. Tighten the black screw: Use an Allen wrench to tightly tighten the black screw that you previously left pointing in that direction. Make sure the toilet is securely attached and does not move.
Procedure for installing the wall-hung toilet seat:
1. Insert snap-in plugs: Before placing the seat, insert snap-in plugs into the corresponding holes. Make sure they are securely in place and do not move.
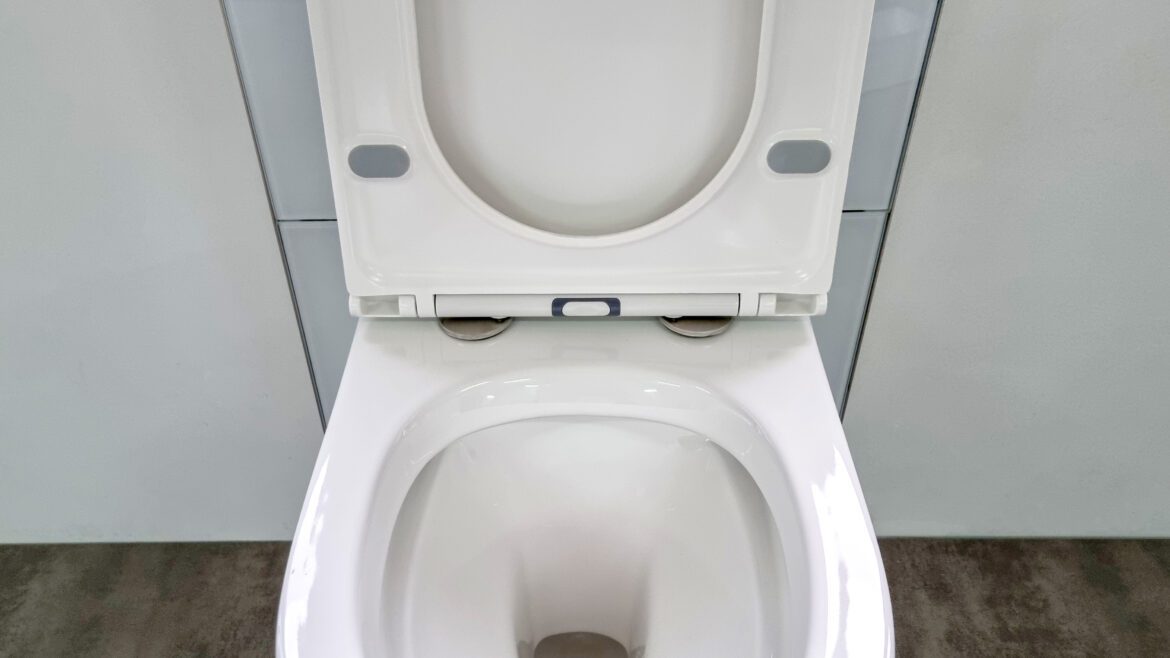
2. Position and align the seat: Place the seat and align it with the perimeter of the wall-hung toilet. Ensure that it is flush on the front and sides for an aesthetic appearance.
3. Tighten the screws: Once the seat is properly aligned, tighten the screws firmly but without overdoing it. Make sure not to apply too much pressure to avoid damaging the seat or the toilet.
4. Add the caps and finish: Remove the seat again and place the stainless steel caps on the screws. Then, reinstall the seat and ensure that the caps are properly secured.
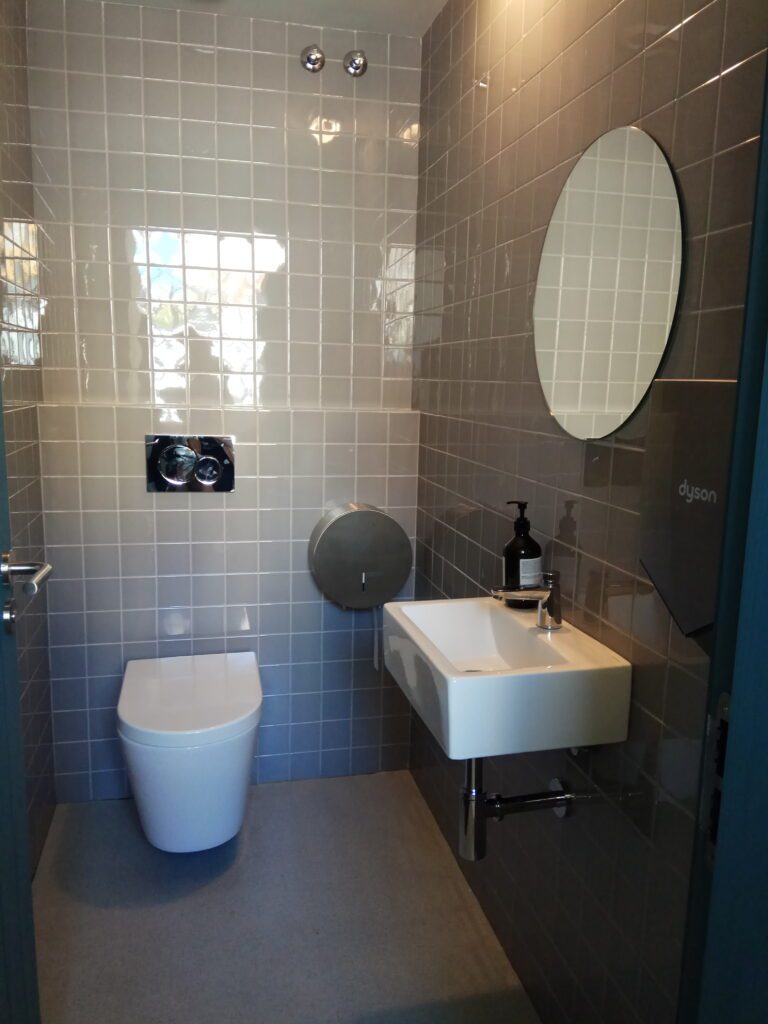
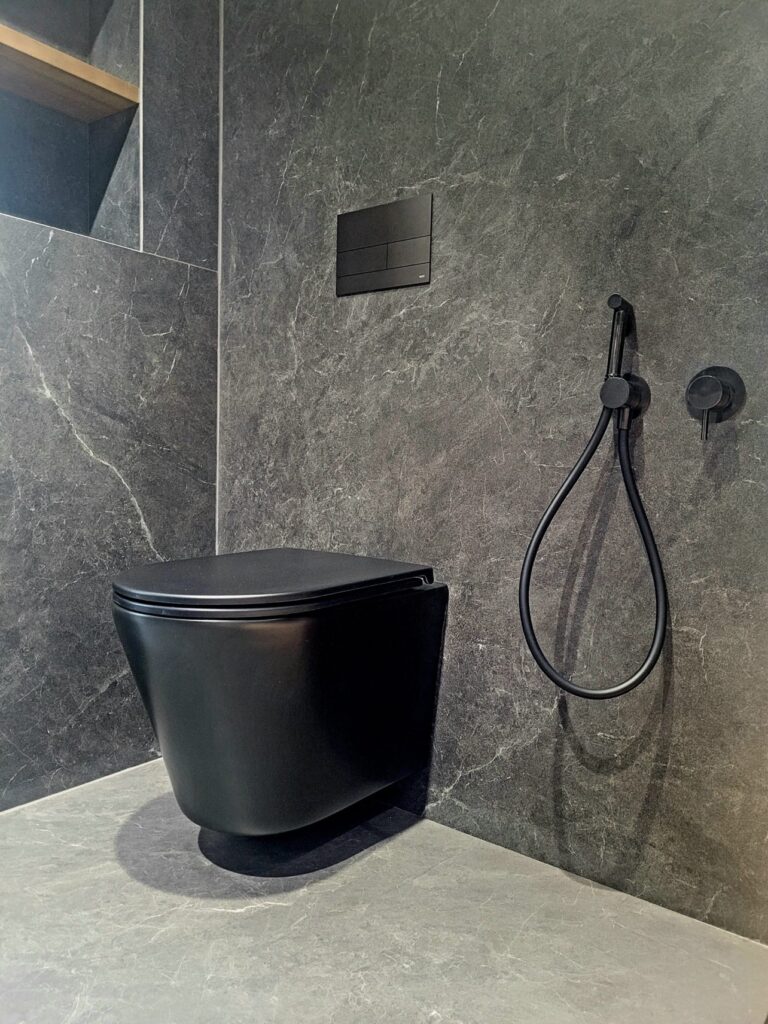
And that’s it! You have successfully installed a wall-hung toilet in your bathroom. Remember to follow the specific manufacturer’s instructions for the model you are using, as the steps may vary slightly depending on the design of the wall-hung toilet. Enjoy your new and modern wall-hung toilet and the aesthetic and functional advantages it offers.